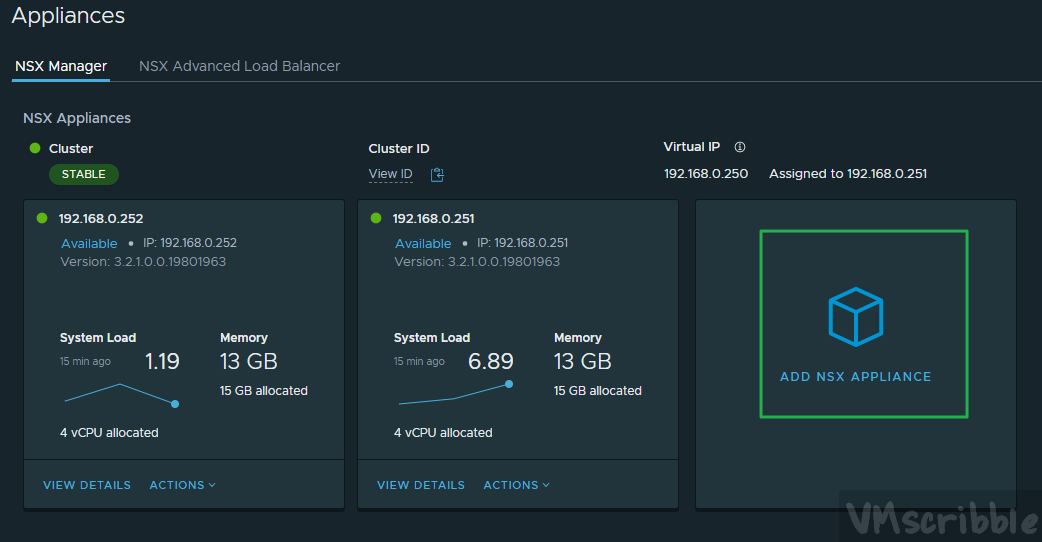
- You deployed the 2nd and 3rd NSX-T Manager Nodes via CLI since the NSX-T computer manager added to the 1st node is NOT in the same vCenter.
Ex. NSX-T Manager VMs are in a MGMT-VC use traditional VLANs only for the backed infrastructure, but the NSX-T added Compute Manager is connected to a Compute-VC for client consumption of NSX-T ESXi hosts. - You want to decommission 1 of the 3 NSX-T Manager nodes. Another reason could be the VM will not boot up and/or is corrupt.
Remove an NSX-T Manager Node via the API
- Find the UUID of the NSX-T Manager in scope. In my case:
fee71742-3a42-5ad5-5b29-1c1da71ca7d0
nsxt-3.my.lab
192.168.0.253
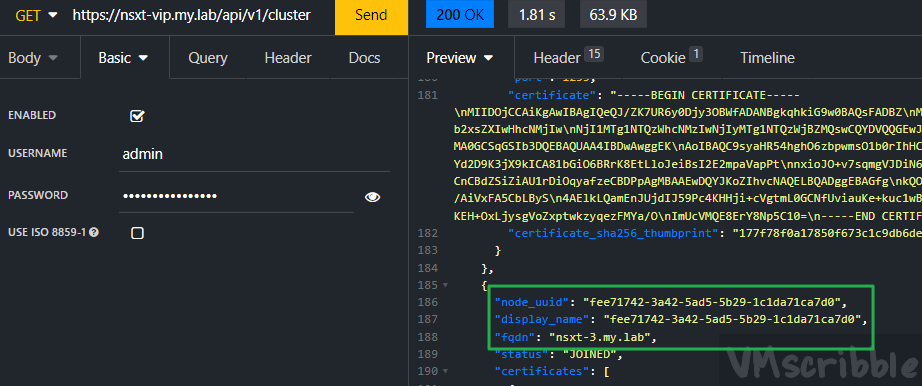
- Setup you favorite API Client. Insomnia https://portapps.io/app/insomnia-portable/ with Basic Auth for the NSX-T admin account.
- API – GET https://nsxt-vip.my.lab/api/v1/cluster
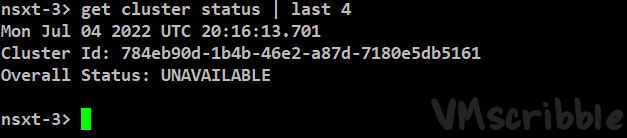
- SSH into a working NSX-T Manager and run
get cluster status | last 4

- Per the NSX-T API Manual
- POST – /api/v1/cluster/<node-id>?action=remove_node
- Edit for my lab: https://nsxt-1.my.lab/api/v1/cluster/fee71742-3a42-5ad5-5b29-1c1da71ca7d0?action=remove_node
- Observation – the output ends with node 02, not node 03

- Wait apx 3 minutes as the change will stop the NSX-T webpage from loading. The output shows nodes 1+2.
- The NSX-T GUI shows the 3rd node is gone
nsxt-3.my.lab 192.168.0.253 - get cluster status | last 4
run the command on node 1 to note it sees itself and node 2.
run the command on the decommed node 3 and it is not part of the cluster.